Infrastructure#
This page explains which tools we will be using during this course and which software you will need to run the analyses.
Gitlab Repository#
All the materials for this course and this website are available on the following gitlab repository:
Please use the issues in gitlab to report problems you have with this book or when working on the exercises. (Make sure to login with your Heidelberg University student account.)
QGIS#
During the course QGIS will be the GIS software of choice. With QGIS you can create, edit, visualise, analyse and publish geospatial information on Windows, Mac and Linux. A wide range of plugins allows you to perform complex geospatial analysis which would otherwise require programming skills.
Please make sure that you run the latest long-term (or a newer) version of QGIS:
Make sure that you have installed the following plugins:
QuickMapServices (download and install directly in QGIS)
ORS Tools (download and install directly in QGIS, make sure to get yourself an ORS api key: https://openrouteservice.org/dev/#/signup)
ohsome Tools (follow the installation hints in the readme file on GitHub)
QuickOSM (download and install directly in QGIS)
Python and Jupyter Notebooks#
Here you can find some resources that will help you to set up a running Python environment.
A very good introduction into this is provided by jckantor:
https://jckantor.github.io/CBE30338/01.01-Getting-Started-with-Python-and-Jupyter-Notebooks.html
I recommend to follow these initial steps
Setting up Python#
First, you need to make sure that you have Python installed on your computer.
For the examples here Anaconda will be a good choice. Anaconda comes with most packages that one needs to use Python for scientific analyses. So let’s install it.
Once, you’ve installed Anaconda, we just need to make sure that you can use the ohsome-py package (and all the other things that we need to run our analysis). You can install this easily.
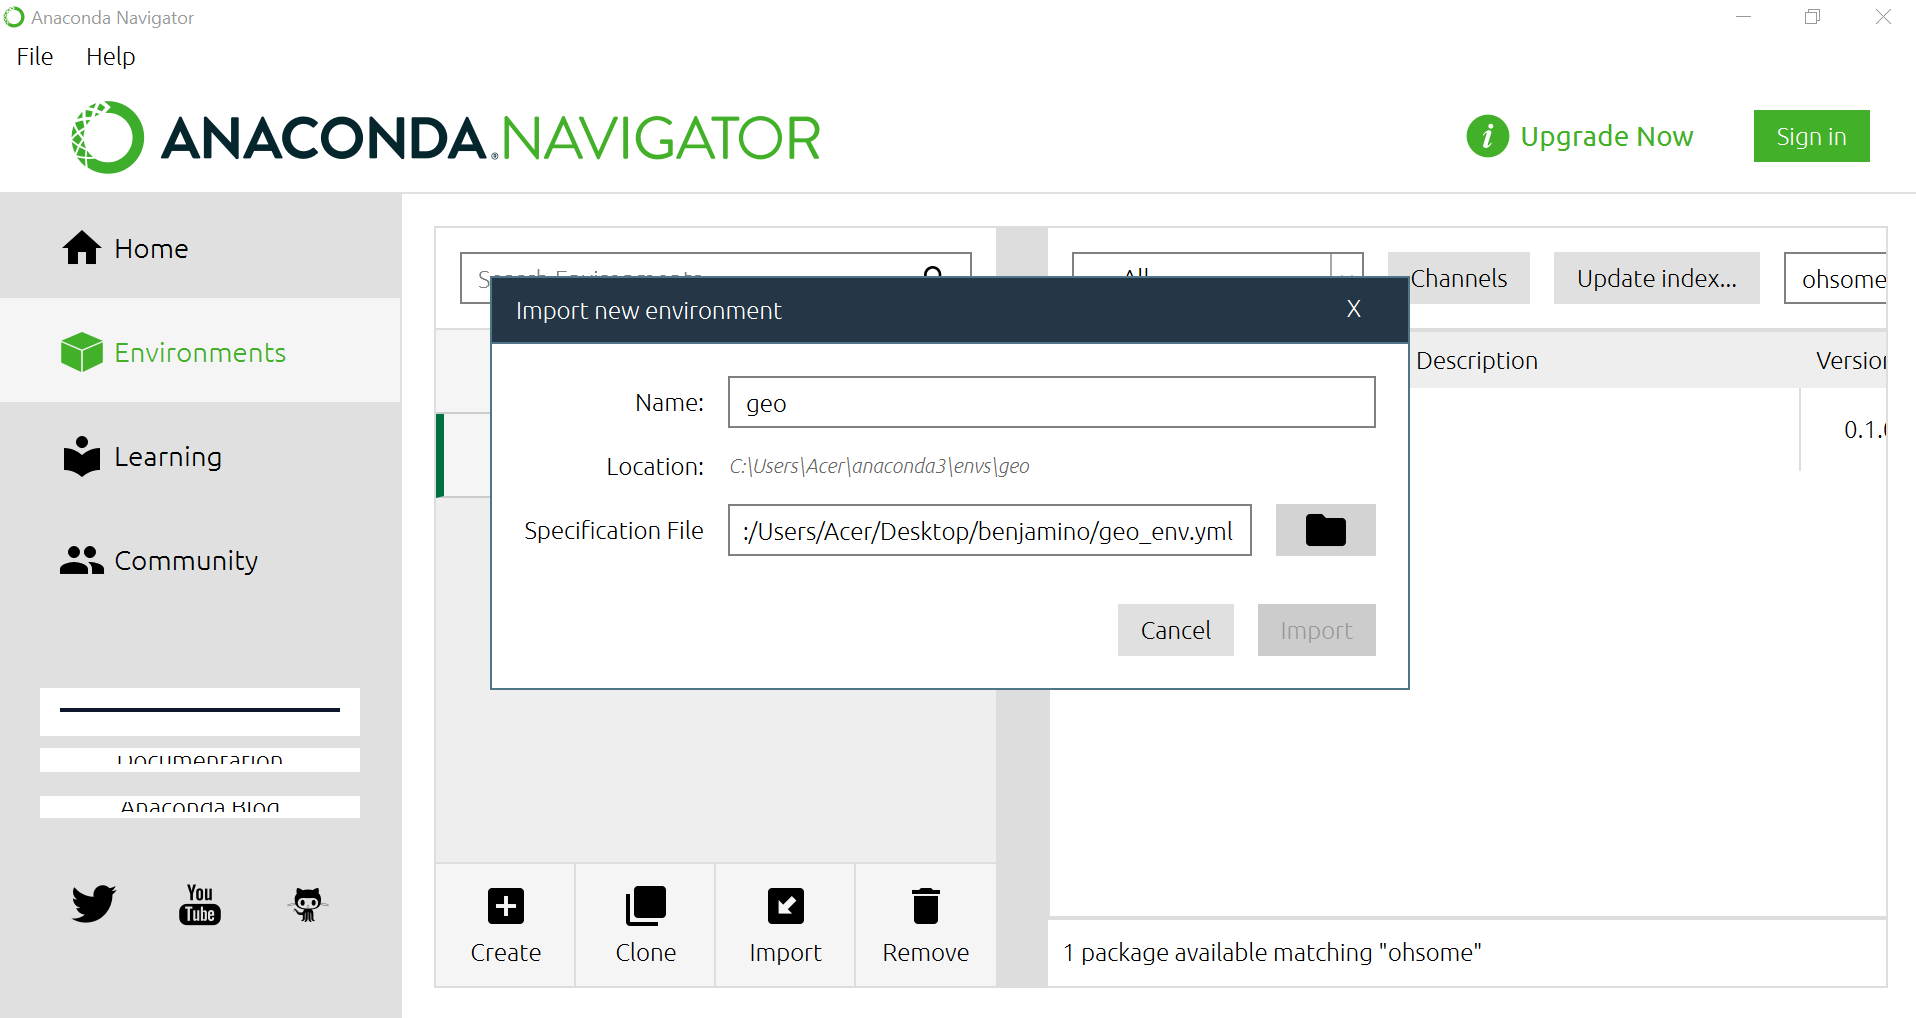
Set up a new environment, e.g. using the Anaconda Navigator
Import the geo_env.yml for windows / geo_env.yml for ubuntu / geo_env.yml for Mac file.
Once you have installed your environment, make sure to update the packages to get their latest version.
If a package is missing, run the following steps:
Open Anaconda, navigate to you environment and press the green play button.
From there you can open your environment in the command line (Open Terminal).
The first step ist to install pip, use
conda install pipAfter that, you can install all the needed packages using the pip install command, e.g.
pip install OSMPythonTools
Make sure that the following python packages are installed:
openrouteserviceohsomeOSMPythonToolsgeopandas
Connect to Google Colab#
This works as a fallback if your can’t set up python locally.
Create a Google account if you do not have one already.
Open Google Colab and log in
Create a new notebook.
Install the required python packages